Back in May I wrote that I was thinking of some home automation projects. However, what fun would it be to buy readily made products? And, more importantly, what would the quality of those products be? We all know that many IoT products are insecure and privacy invading and leave you depending on the manufacturer for updates. Finally, home automation is an excellent learning project. It encompasses so many different technologies, both high- and low-level. For these reasons, I opted to build my own home automation system.
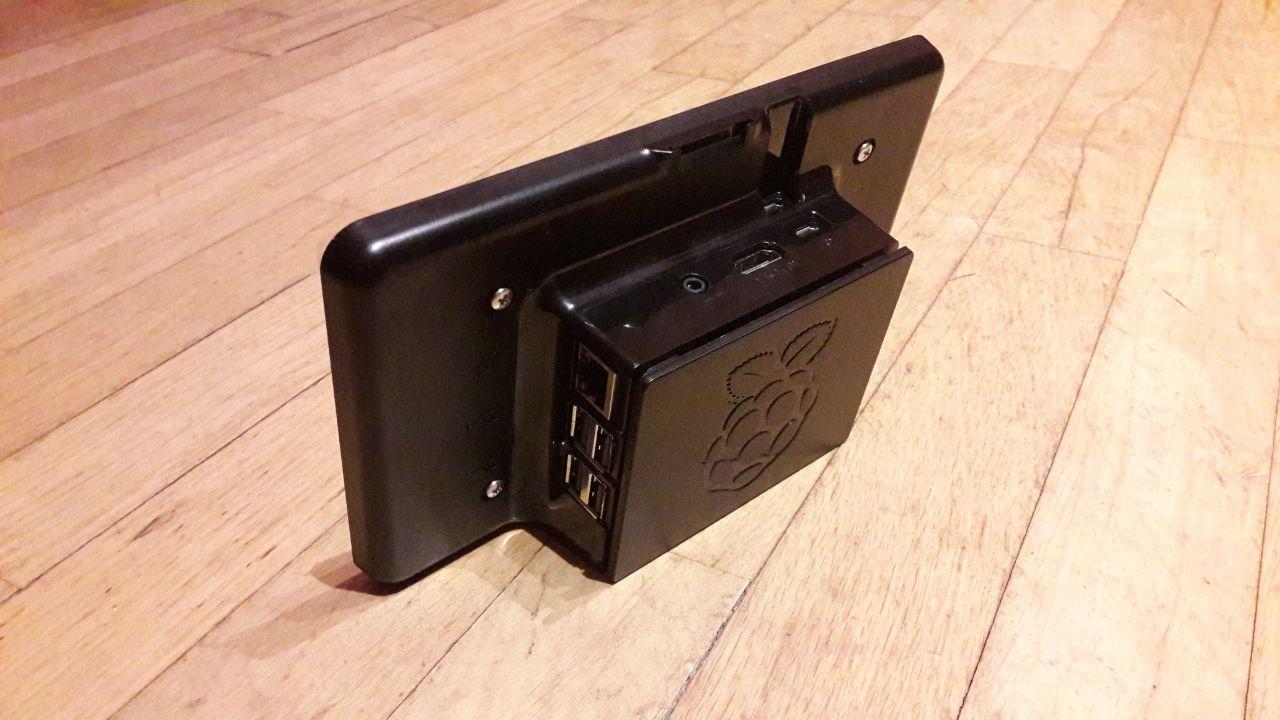
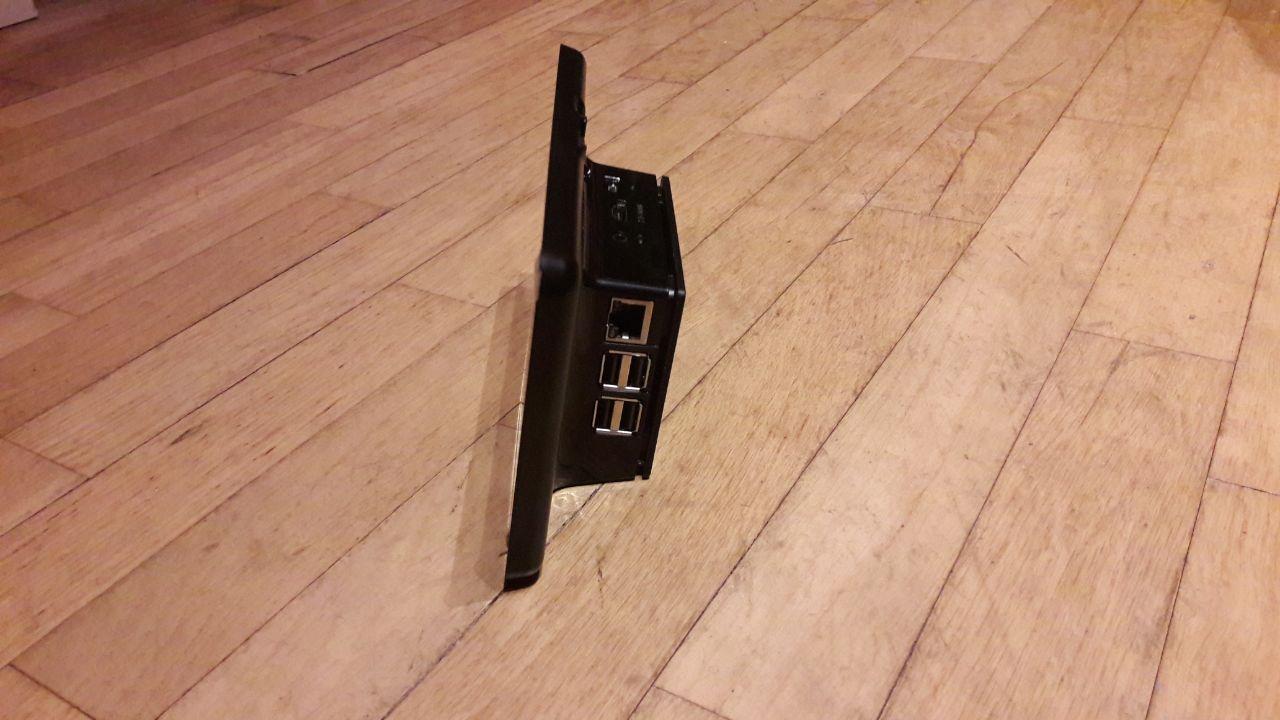
The heart of the system is a Raspberry Pi 3B+ (unlike I wrote previously, the UDOO remains a NAS and local git server), attached to which is the official 7" touchscreen. All of this is encased in the official 7" touch screen stand, so that it can stand by itself while looking not too shabby.
On top of this beauty, the control system should run software that allows you to for example control the smart lighting. For the reasons outlined in the introduction, I won’t use an off-the-shelf solution such as Home Assistant. No, I want to do everything myself. This way, I can tailor the system exactly to my needs. This not only results in a minimal system, but also one that I can fully trust to run inside my home. And I should learn a ton!
To start, I developed my own purpose-built embedded Linux distribution for my home automation system. After all, what is cooler and teaches you more than developing your own Linux-based operating system?
In the space of building custom embedded Linux distributions, there are two projects to help you set everything up: Yocto and Buildroot. Both projects yield the same result, but Buildroot is said to be simpler. It focuses on simplicity and is therefore easier to learn and use. As you can guess, I ended up picking Buildroot for my project. The fact that it is more of a “firmware generator” and thus requires rebuilds when changing the system was something of a pain-point during the development (see below), but the easier learning curve and simplicity of the system still won me over. Also, now that the image is complete and I know what I need to install, I won’t have to do as frequent rebuilds.
To house my configuration, I forked Buildroot on
GitHub. I added a
custom defconfig (configs/hjdskes_rpi3_defconfig) that holds my
image’s configuration, and there is a subdirectory in
board/hjdskes/rpi3/ to hold configuration files and a rootsfs
overlay. I also had to package
wlroots and of course my own
compositor (see below), in
packages/wlroots and packages/cage respectively. The process of
developing this system has taught me more about the lower and inner
workings of Linux. I am familiar with maintaining Linux on my laptop
and building up what I need from the standard, default Arch Linux
installation. However, even in this scenario, a lot is already done
for you by the distribution packagers (I did find an increased
gratitude after this project!). Upon selecting systemd (Buildroot by
default opts for busybox, but I went with what I knew and consider the
standard), the system booted fine. However, it wouldn’t spawn a getty
to log in on, despite Buildroot’s BR2_TARGET_GENERIC_GETTY option
being set to yes. As it turns out, you need to explicitly install
agetty.
Great! Now I got a getty and a login prompt., I thought. This
victory was short-lived, as the getty would respawn after entering the
username, before I was prompted for my pasword. This is how I learned
how user login works on Linux; there is another binary in util-linux,
aptly called login, that is called by getty to perform the actual
logging in. Afterwards, this makes a lot of sense (I mean, look at the
name), but at that moment you are stunned and, after the so many’th
rebuild, quite frustrated. Building your own embedded Linux system is
truly a wave of ups and downs, but the end result is very
satisfactory. To top it of, this is stuff that you don’t learn from
even the minimal “user-facing” distributions such as Arch Linux!
Another example of things I hadn’t worked with before was
PAM. I wanted to start
Cage, my Wayland kiosk, automatically on boot. I
have written a systemd service for this, which logs in as the
specified user after boot and then launches Cage. This systemd service
does things the proper way, after this discussion on
wayland-devel.
That is, it sets up a full user session with logind and a custom PAM
stack. This stack does the usual login handling through pam_unix and
then launches a user session with pam_systemd. After changing the
default systemd target to graphical and enabling the service, I now
have a flawless boot into Cage!
The resulting system is very minimal and modern: on top of the Linux
kernel, it installs systemd (only the required parts and logind),
util-linux' agetty and login, bash, Raspberry Pi firmware,
wpa_supplicant, mesa (Gallium VC4 driver, OpenGL ES and EGL), GTK+
3, my Wayland compositor Cage (see below), the
Cantarell font and the Adwaita icon theme. Of course this also
includes these packages' dependencies, but with the finished
filesystem using only 155 MB I think this qualifies as a minimal
system. I do still have to develop the actual home automation
application, which will add a few more dependencies to the system. For
now, it simply launches gtk3-widget-factory to test if everything is
working properly.
I know, is that all?, but to me this is exciting 😁
With the screen being only 7", I don’t want to have to move windows and have different applications for different automation scenarios. Instead, I envision this to be a kiosk, with a single application that interfaces with all the smart products in my appartment.
I want my home automation project to use modern Linux standards, hence systemd and Wayland. However, there is no existing kiosk solution available for Wayland. I could use a minimal compositor such as sway, but then I would have to configure this to lock down the system. Since part of the project is learning and doing things the right way, I did not want to lock an existing solution down and inevitably risk there is a way out after all. Hence, I set out to build my own Wayland kiosk. I have developed X11 window managers before but never a Wayland compositor, so this was again an excellent learning opportunity.
The fruits (or rather, fruit) of this labor is Cage. As described, Cage is a kiosk for Wayland. It is quite minimal for now, supporting only the xdg-shell protocol. However, with this comes support for a large set of applications. For example, Cage can run any GNOME or GTK+ application. Admittedly, Chromium and Firefox are out for now, and I’m not sure about Qt. For me though, that’s oke, because I intend to go fully native and build my control application in GTK+ (as I always have). Note that I do welcome pull requests that implement additional features, so if you want to use Cage with Qt, please feel free to contact me to work it out together!